Overview
Have you ever thought you would like to automate writing and uploading posts to your X account? Well now you can! In this blog post tutorial, I will show you how you can use no-code/low-code automation platform n8n to create an AI agent that will post on your behalf to your X account. All you need is n8n, RSS feed, OpenAI API key, and X account.
Create the workflow in n8n
Our first step in making our almost automatic X account a reality is navigating to n8n. In n8n click “Create workflow”, which you can see highlighted in the picture below.
Next, we will need to add the first node of our workflow. That will be the trigger. Trigger is what will activate and start our workflow and AI agent, meaning this is the input that the AI agent uses when creating X post. After clicking on “Create workflow”, you should now see the screen below in front of you. Click on one of the highlighted buttons to add new nodes, you will want to look for “RSS Feed Trigger”.
After adding the RSS Feed Trigger, below is what your workflow should look. There is nothing except the RSS Feed Trigger. What we want to do next is add the AI agent. Click again on the + sign on the right side and write “AI agent”
When you are adding the new AI agent n8n will show the parameters of the AI agent to you. Change source for prompt to be “Define below”, as highlighted in the picture below.
After this we now have the trigger node and AI agent on our workflow, but they are not connected. Click and hold the + sign on the right side of the trigger node and drag it to the input of the AI agent, look at the picture below for reference.
Now we have connected our trigger to the AI agent, but our agent only has the input of this RSS feed trigger, nothing else. This means right now our AI agent doesn’t have brains (chat model), memory, or tools. Let’s change this! Click on the + signs that are connected to the AI agent, as seen on the picture below.
For chat model choose “OpenAI Chat Model”, although you could use something else as well, that is what we will use for this tutorial, for memory choose “Simple Memory”, and finally for tool, choose “X (Formerly Twitter) Tool”. Now we have the skeleton of our workflow ready. All the nodes are there, but their content has not yet been updated and we haven’t yet added credentials, below is what you should see in your workflow.
We have now created the workflow and AI agent, but we still need to add OpenAI and X credentials to n8n and add the content inside these nodes. Let’s add the credentials first.
Creating OpenAI and X credentials in n8n
Next, we need to add OpenAI and X credentials to n8n. Without adding OpenAI credentials to n8n our AI agent basically won’t have brains, because it won’t have access to a chat model. Without adding X credentials to n8n our AI agent won’t be able to do the posts in X. For these reasons we need to add these both. To add credentials, click on one of the two buttons below, “Add first credential” or “Create credential”. You will want to search for “OpenAi”.
After you have searched for “OpenAi” you will see a screen asking your API key. Paste your OpenAI API key in that field, click save, and then you should see the screen below showing connection is successful.
After this click on “Create credential” again and search for “X OAuth2 API”. Now you will see screen similar as below asking for your Client ID and Client Secret. If you have this already fill them in, but if not, save the OAuth Redirect URL, we will need in the next steps.
To connect X to n8n for our workflow and AI agent we need the Client ID and Client Secret. Below are the steps you will need to take:
Set Up Twitter Developer App
- Visit https://developer.twitter.com and log in/sign-up.
- Create a new Project and App (for me created automatically).
- Navigate to your new app in the developer portal.
- Under “User authentication settings” click “Set up”.
- In the window that opens set App permission, type of app and app info.
-For App permissions I set Read and write.
– For type of App I set Web App, Automated App or Bot.
– For App info I set the Callback URI / Redirect URL to be the OAuth Redirect URL we saved in the previous step from n8n. This is important! - Navigate to the “Keys and tokens” section and generate your API key and API key secret.
- Navigate back to n8n, add the Client ID and Client Secret as below, click “Connect my account”, and authorize app.
We have now connected OpenAI and X to n8n. Your credentials window in n8n should look like below.
We have now added the credentials we need to n8n. All we have left to do is add the content inside the nodes in our workflow, let’s do that next.
Final steps – lets bring it all together!
We have created the workflow and added our credentials to n8n. This means we now have all the pieces that we need to complete this puzzle. All we have left to do is change the content of the nodes in n8n. To do this navigate back to your workflow window, it should look like below.
Here’s how you do it:
Click on the RSS Feed Trigger. In the node parameters you need to change the Feed URL. Right now, it’s just a placeholder, but you will need to add that RSS feed that your AI agent will use as input. I will use wired RSS feed for this tutorial, as you can see on the right.
3. Next click on the OpenAI Chat Model and change it to be the chat model you wish to use. I am using gpt-4o-mini, as you can see on the right.
2. Now click open Simple Memory. Change Session ID to be Define below and change key to be {{ $json.isoDate }}, as seen on the left.
4. Now click on the Create Tweet in X tool. Write “{{ $fromAI(‘text’, ”, ‘string’) }}” in the text box, as seen on the right.
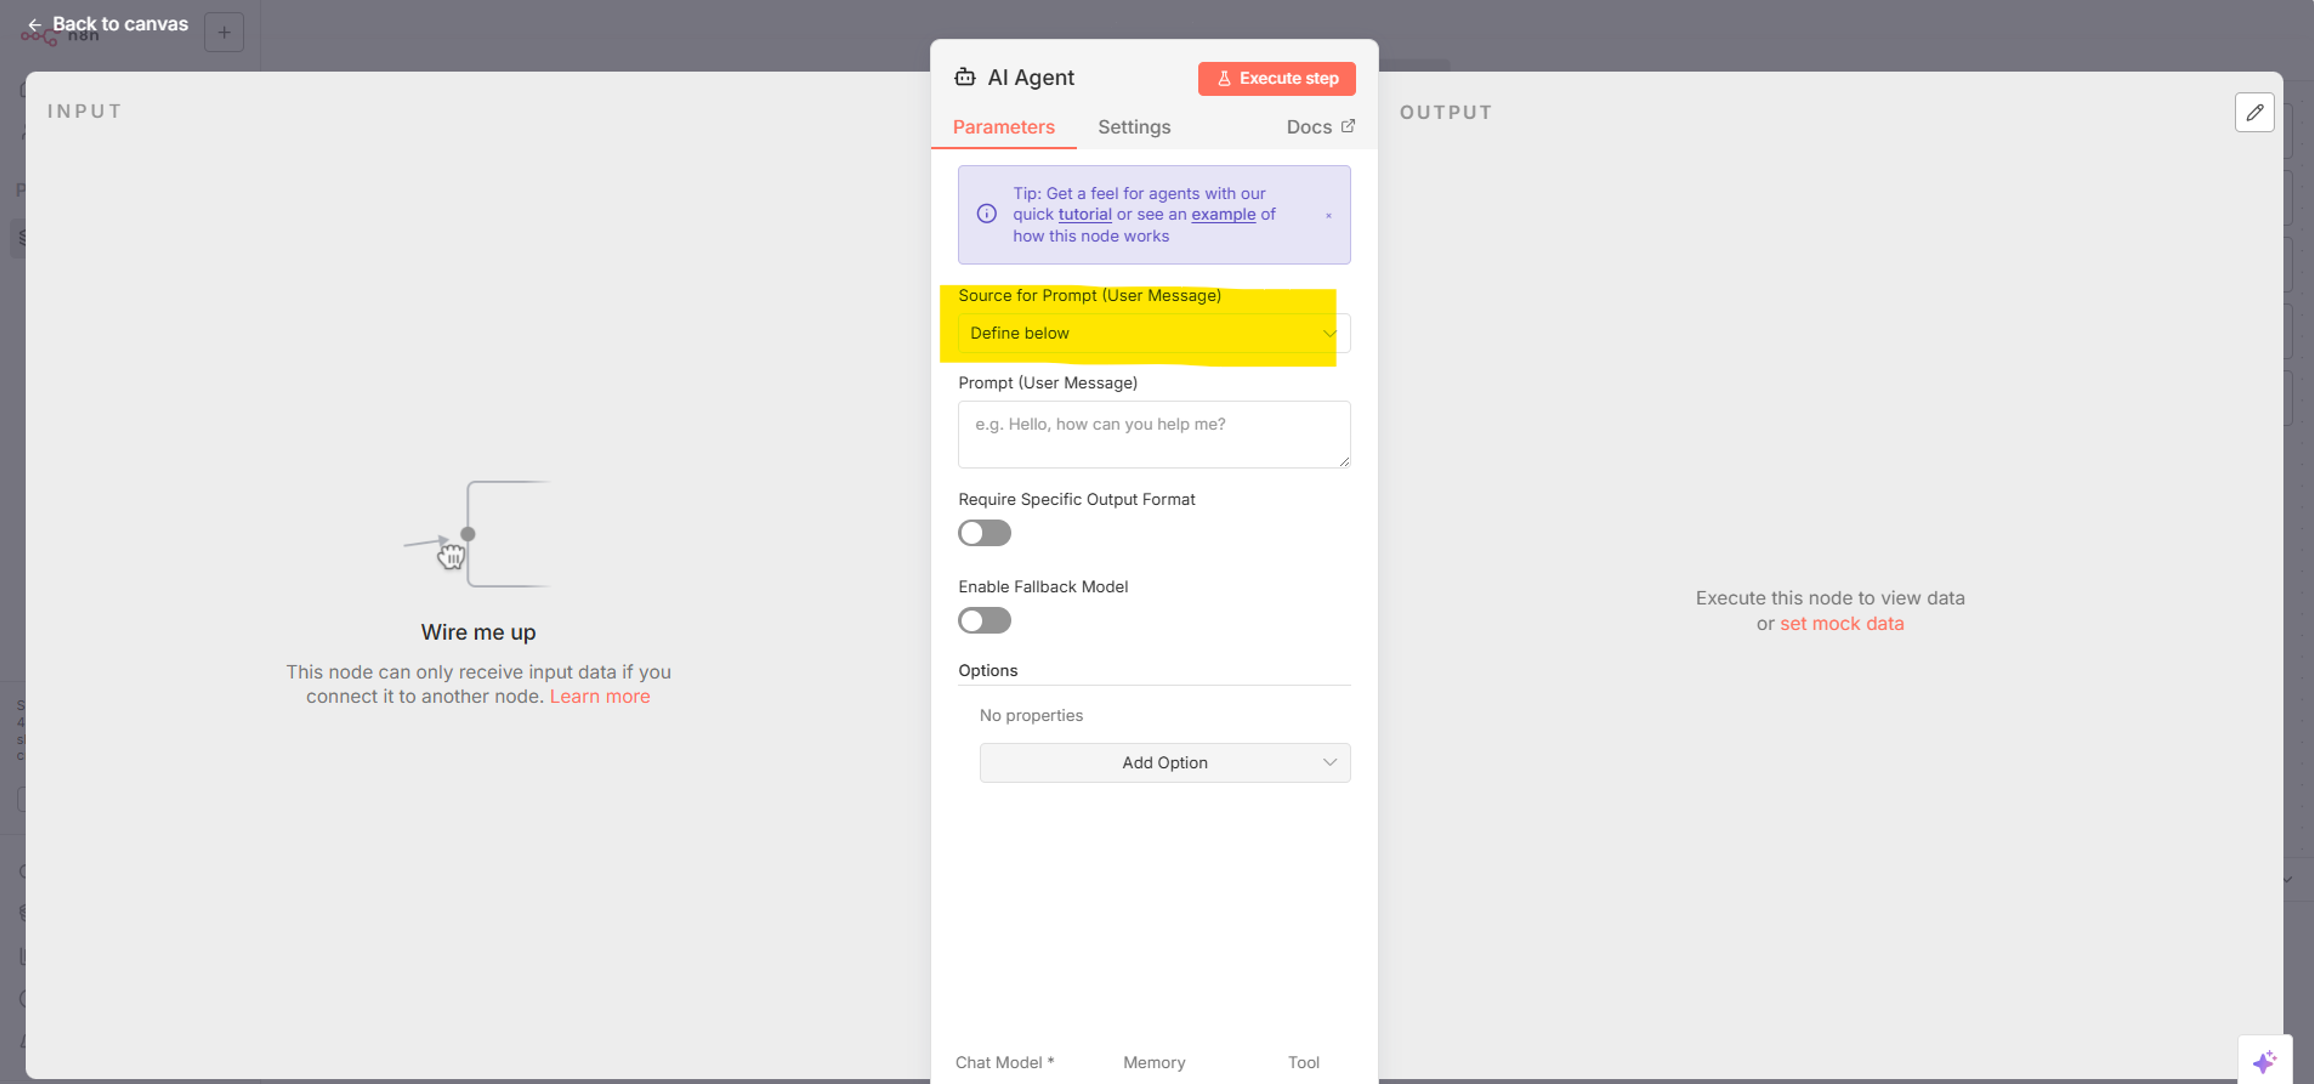
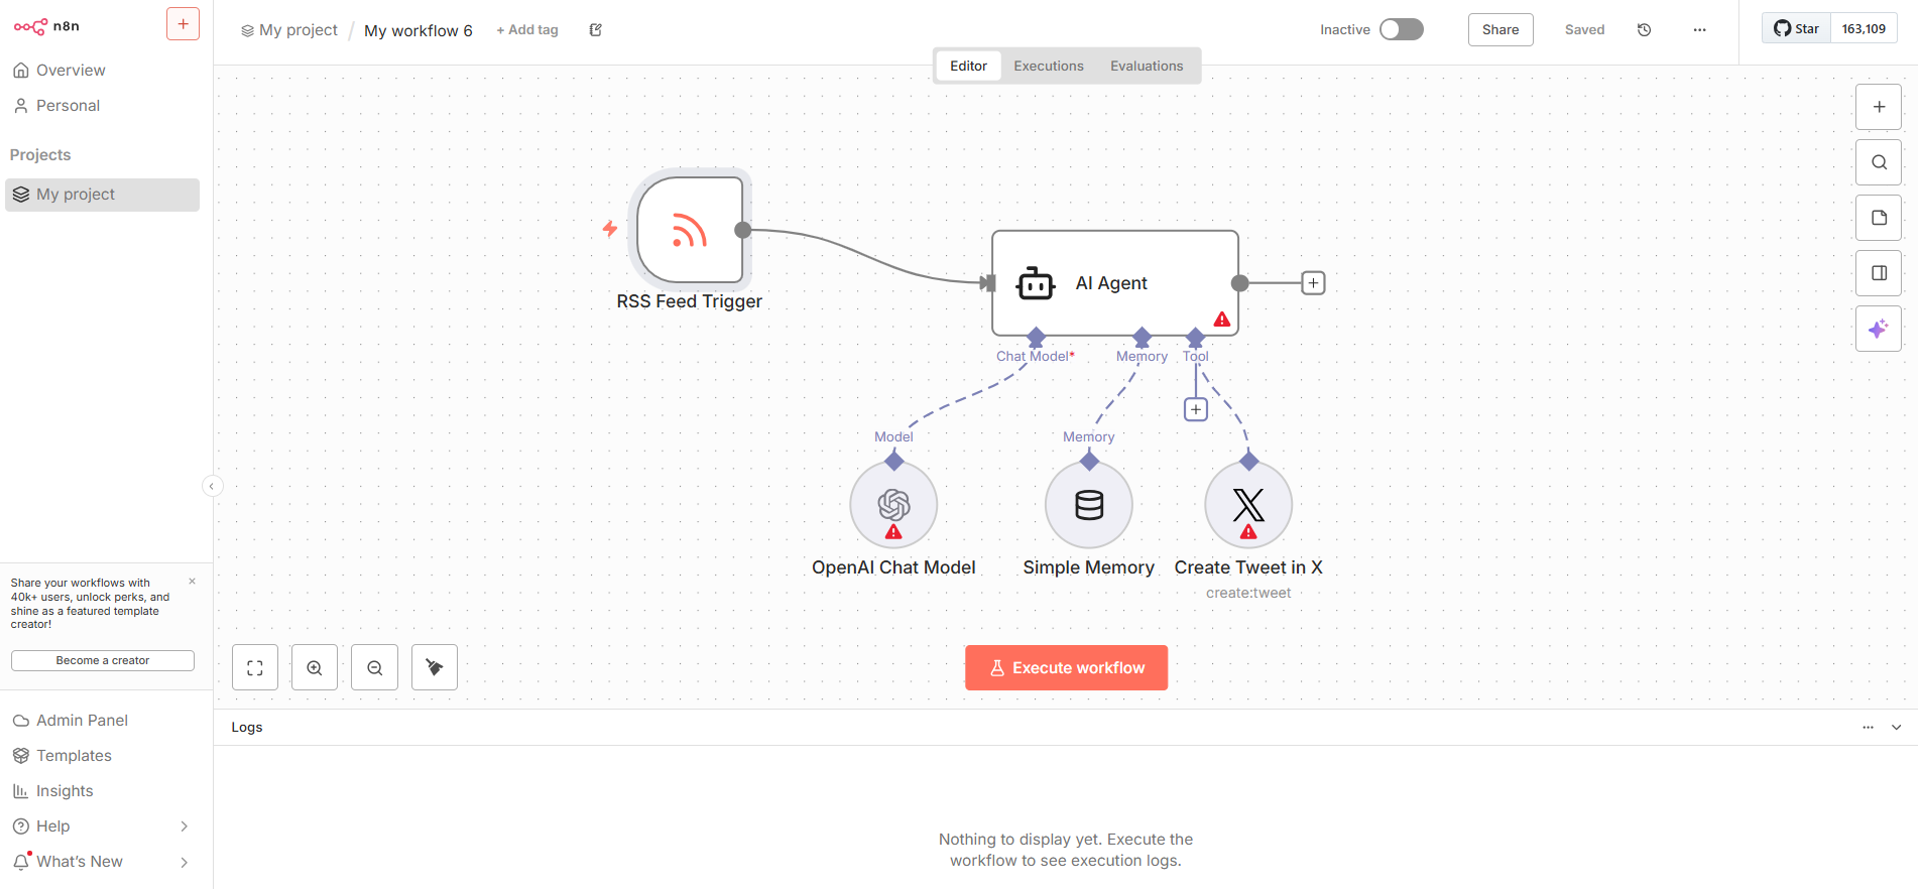
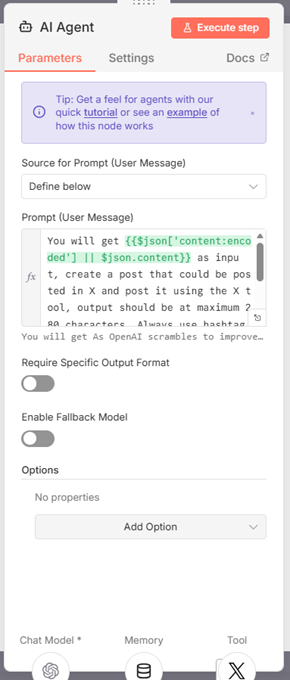
5. We have now added content to all our nodes and tools, except one, click open AI agent. In the prompt (User Message) write your instructions for the AI agent.
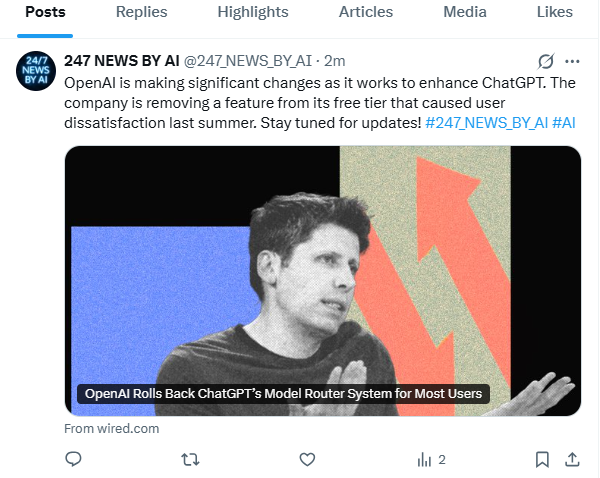
For example, this is what I have written: “You will get {{$json[‘content:encoded’] || $json.content}} as input, create a post that could be posted in X and post it using the X tool, output should be at maximum 280 characters.
Always use hashtags “#247_NEWS_BY_AI” and “AI” at the end of the post. You must include {{ $json.link }} at the end of the post.”. You can see this on the picture left.
We have now done everything needed to make this X posting AI agent work. To test this out, click “Execute workflow” in your workflow. You should see similar result as below, meaning everything worked like it was supposed to.
Now if we go to X we can check what our post looks like.
If you want to leave your AI agent active in n8n, meaning it will make post in X every time the RSS Feed Trigger triggers, notice to leave the workflow state as active:
Conclusion
During this tutorial we went through what nodes in n8n you need to add to your workflow, what credentials you need to add to n8n to connect to OpenAI and X, we brought it together by adding content to the nodes, and finally we tested our AI agent in action and saw that our AI agent works and does X posts automatically. I hope this information will be useful to you and you can also automate your X account! If you want to discuss n8n, AI agents, or automation, you can contact me through LinkedIn.
